Tricks and Tips for Figure Photography
Camera Basics
We love to take photos of our figures, we shoot as much as we could, anytime, anywhere – the question is, are you familiar with the functions that your camera has? Have you explored them and used them to their maximum potential?
I’ll be doing a step-by-step guide on basic photography skills to help you learn more about your camera.
Understanding the master TRIO
Some of you might own a camera and have mastered its operation but for those who want to learn the basics, let’s start by understanding the master TRIO of photography.
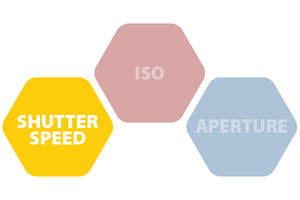
Imagine shooting a moving object, can you take a sharp photo of it? Here are some tips on how to understand “Shutterspeed”
In a context explanation, shutter speed refers to the length of time when the sensor is exposed to light. You may refer to the infograph below for a detailed explanation of how it works. (e.g. 1/1600 – 1/4, photo below is an illustrative example only)

Imagine shooting a moving object, can you take a sharp photo of it? Here are some tips on how to understand “Shutterspeed”
In a context explanation, shutter speed refers to the length of time when the sensor is exposed to light. You may refer to the infograph below for a detailed explanation of how it works.
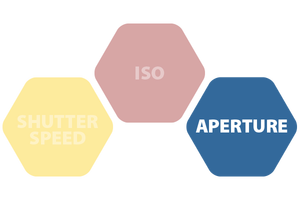
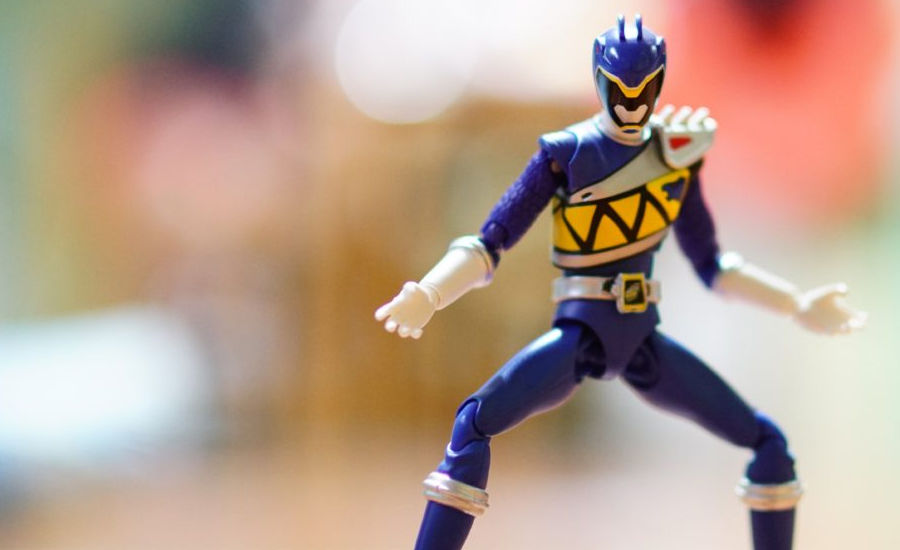
Aperture is the opening (in the lens) where light passes through. The bigger the opening, the more light passes through resulting to a brighter image.
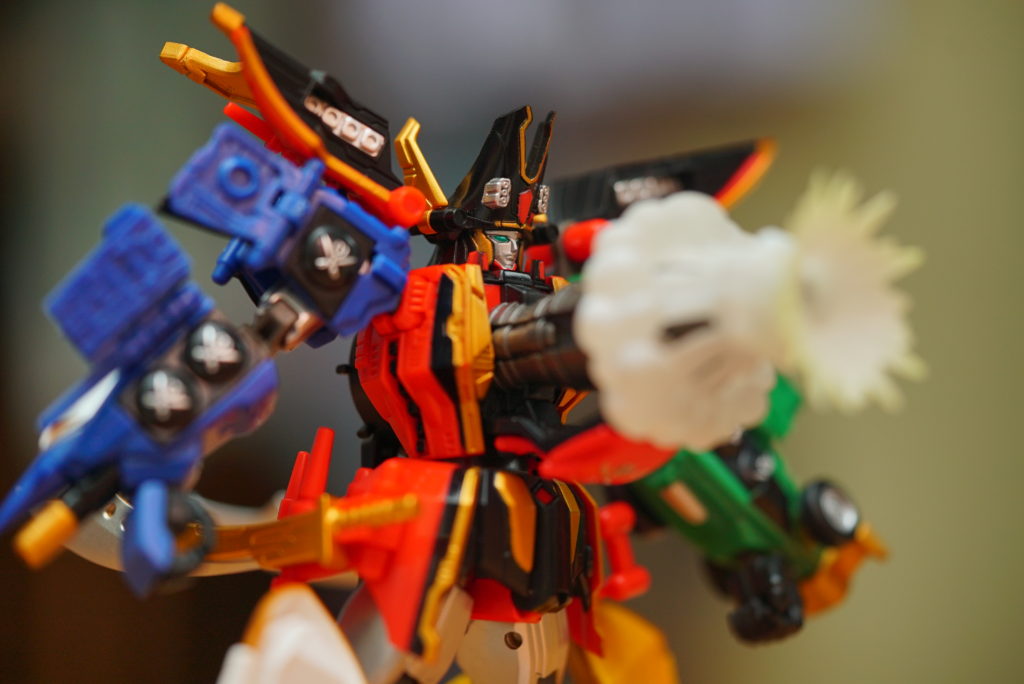
The thing with aperture though is that if the reading/number is lower, the opening would be bigger; so if you have a lens with a max aperture of 1.4 you can shoot brighter images and produce images with bokeh.
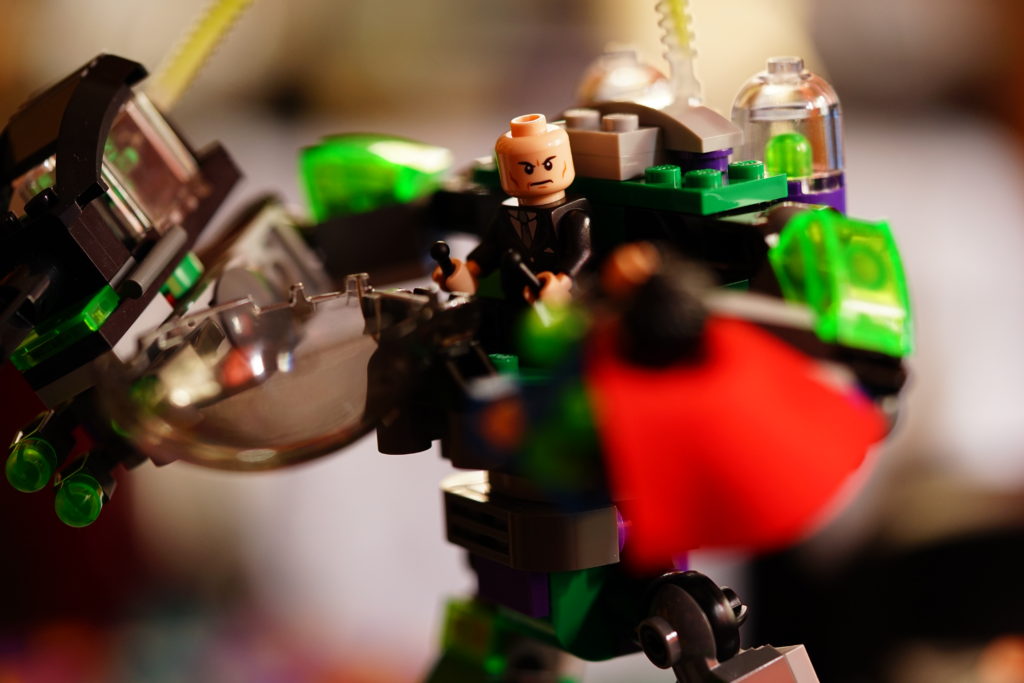
Bo-what? Bokeh (BOH-kay) is the quality of blur produced in an out-of-focus part of the image produced by a high aperture opening.
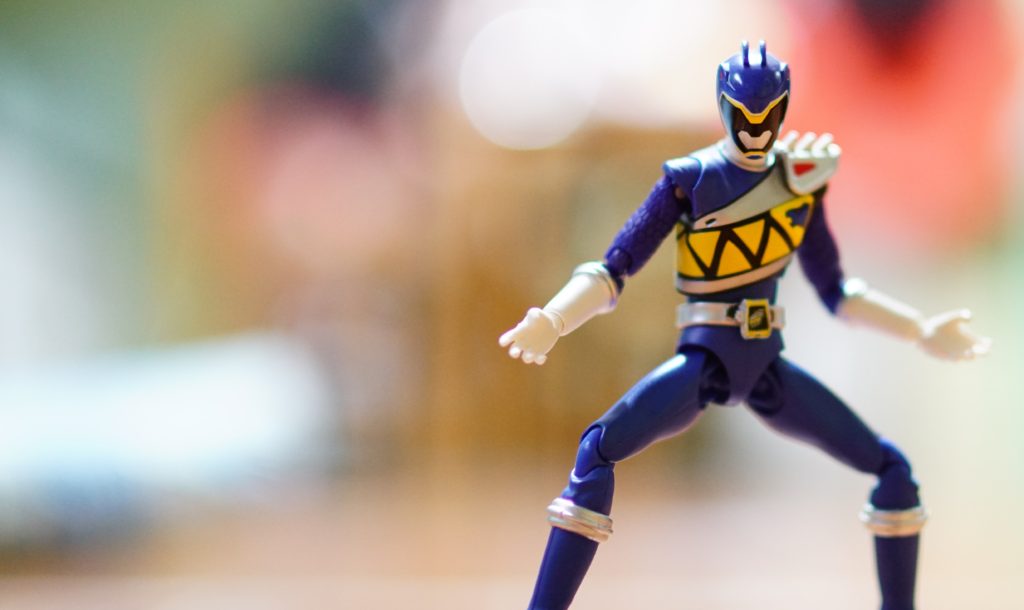
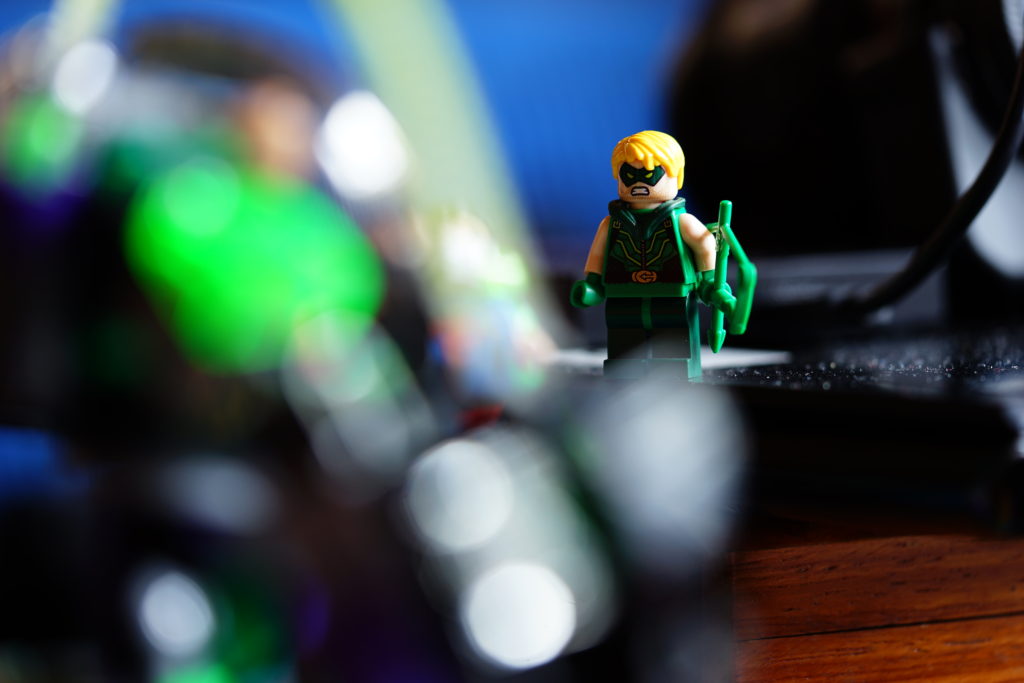
As you can see in the image comparison, higher aperture produces highlight for the foreground subject rather than the background.
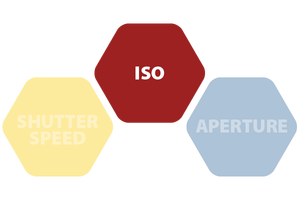
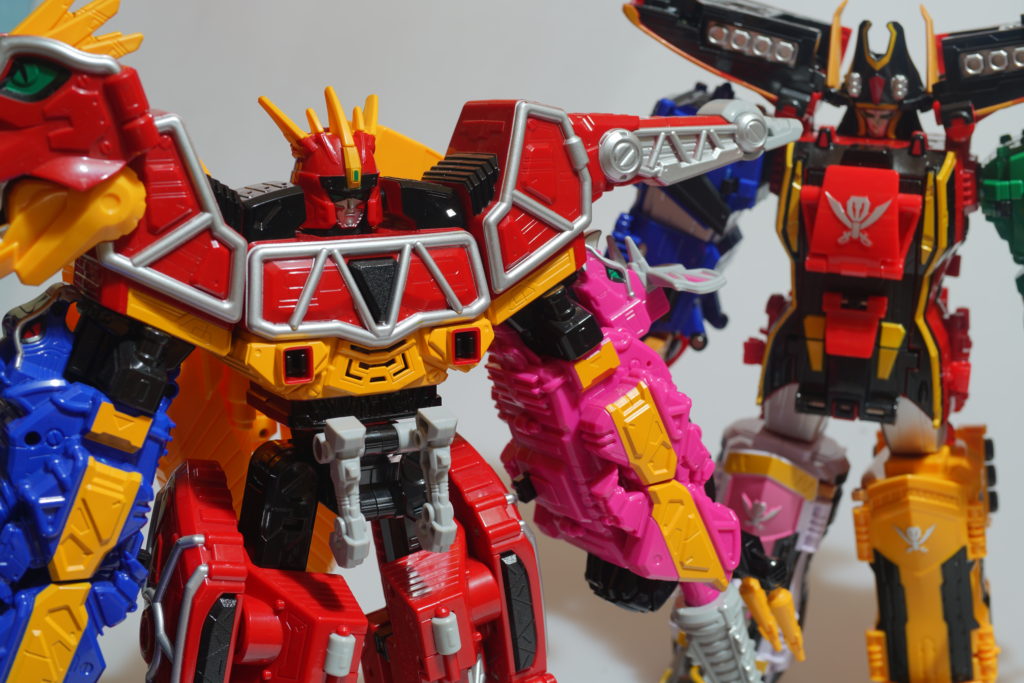
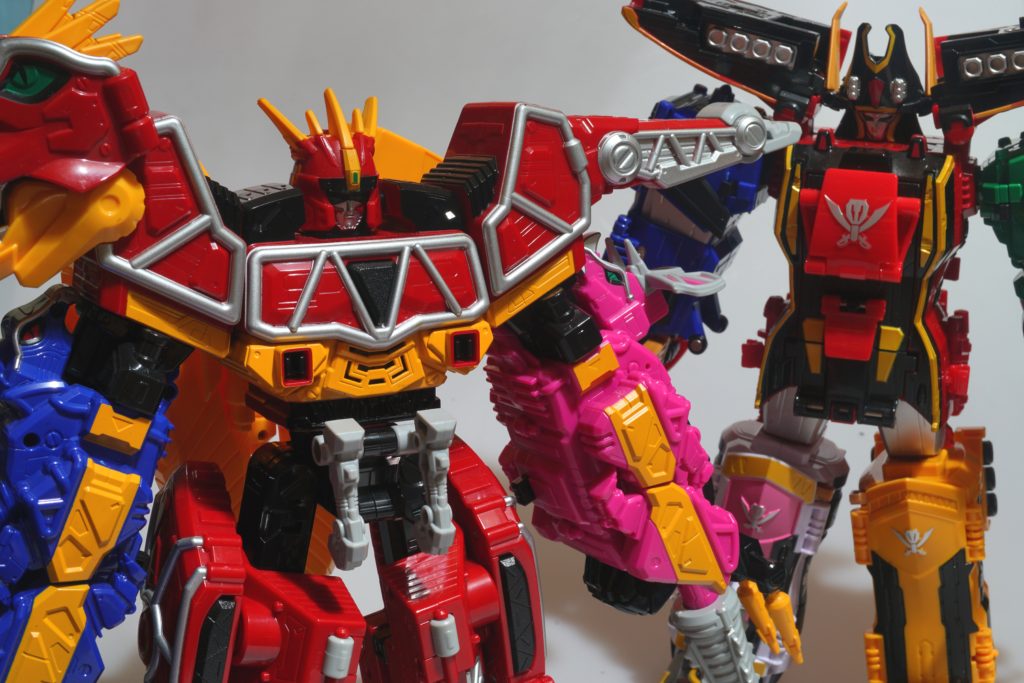
ISO determines the sensitivity of the image. The lower the ISO, the more crisp and detailed your subject would be, the higher it is more noise would appear in your image.
Understanding noise
Noise in photos is the same with audio noise – unnecessary elements are present.
As you can see, lesser ISO produces cleaner image compared to the higher ISO count.
Although higher ISO count can be helpful in lowlight shooting situations
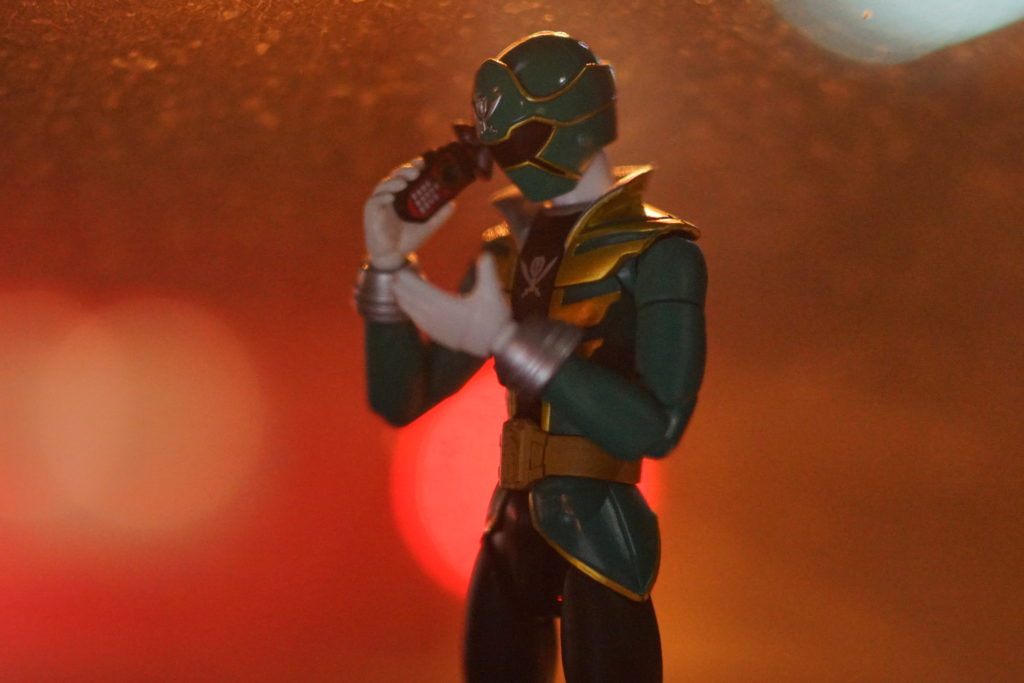
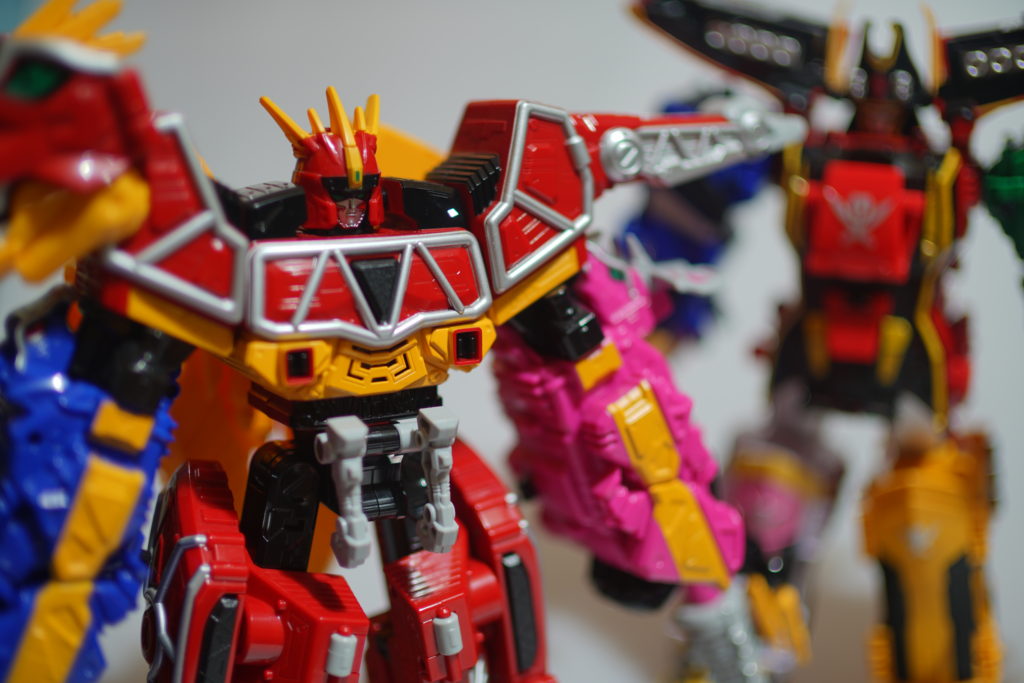
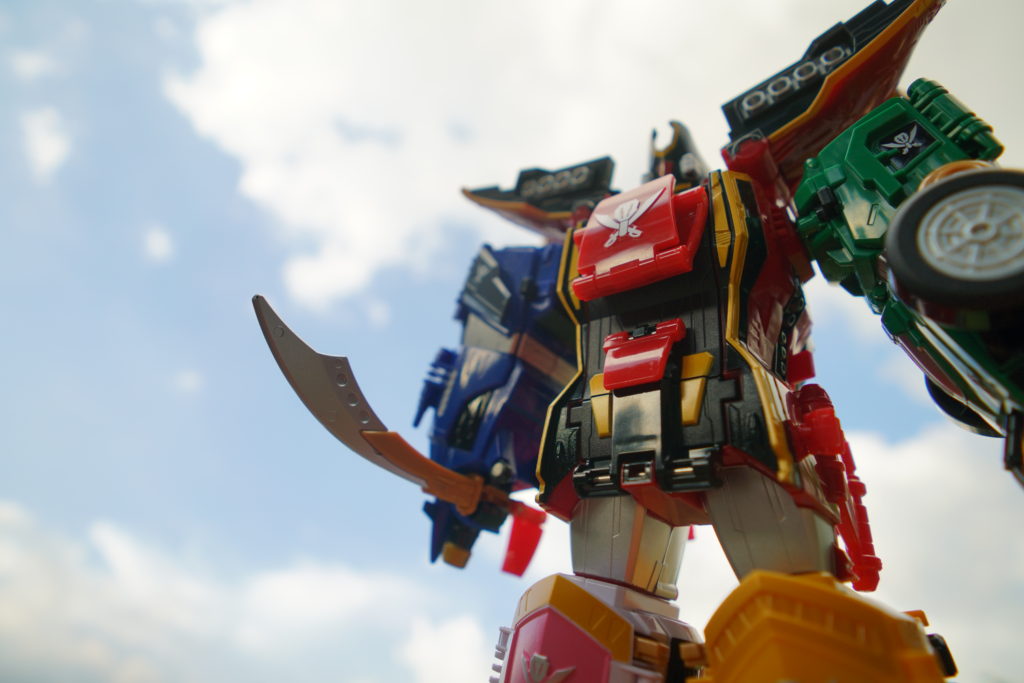
TIP: Image is at ISO-2500, there’s noise present in the photo but it adds depth and details on the theme of the photo
Did you know the maximum ISO count available is at 409,600, why would you need night vision googles if you can have that?!
Now that you understand the master TRIO, it’s time to shoot!
TIP: To master the TRIO, practice shooting in MANUAL so you can mix and match the desired settings of your camera and image.
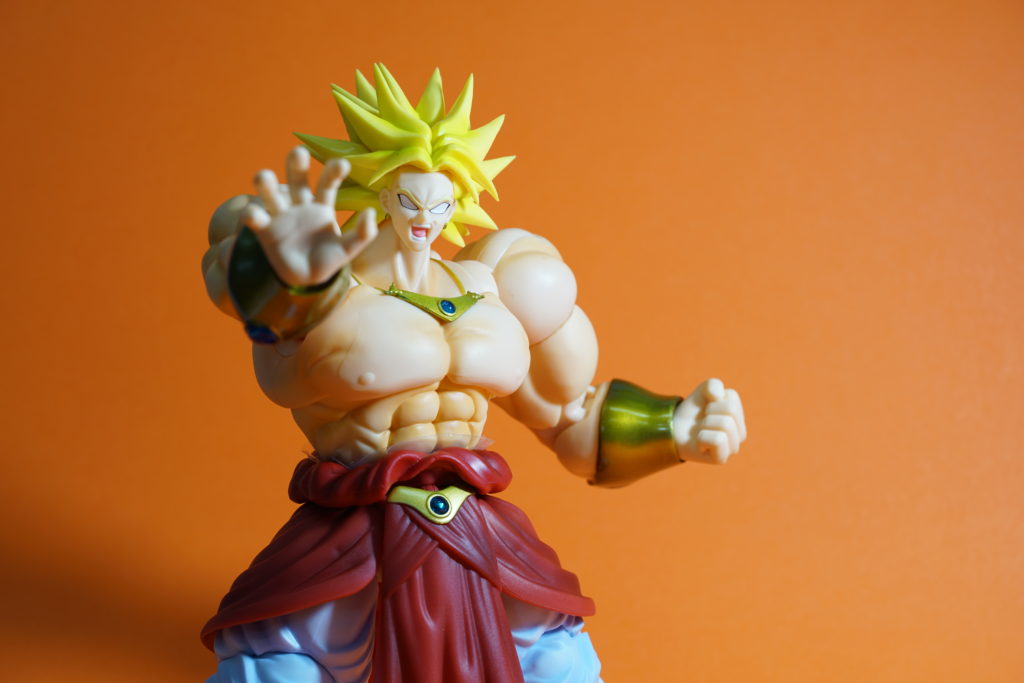
Below are some examples of a combination of the master TRIO.
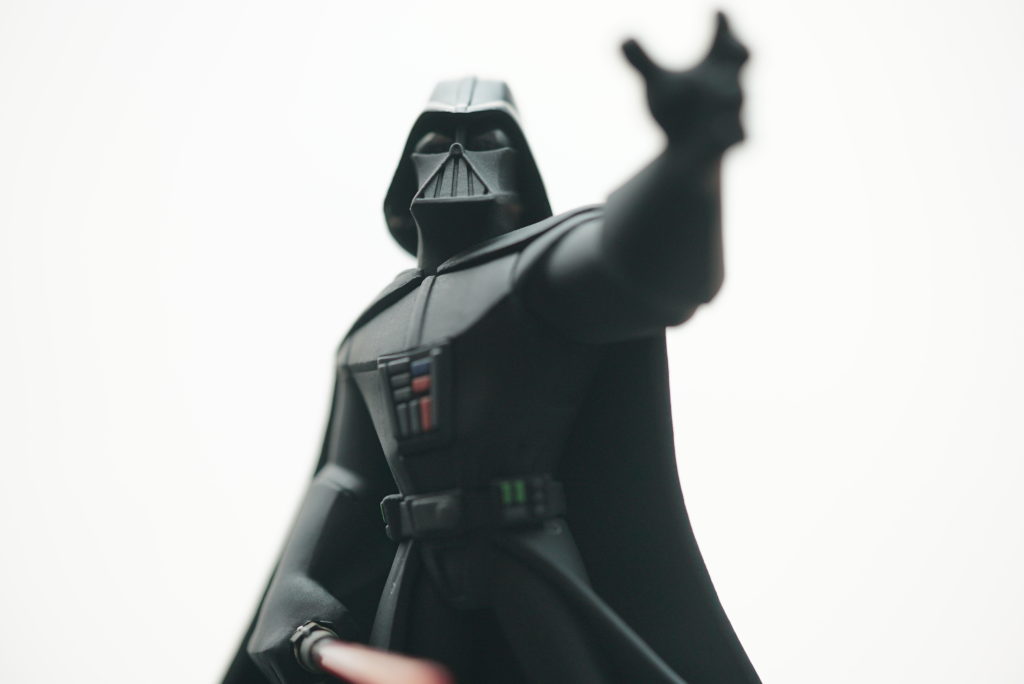
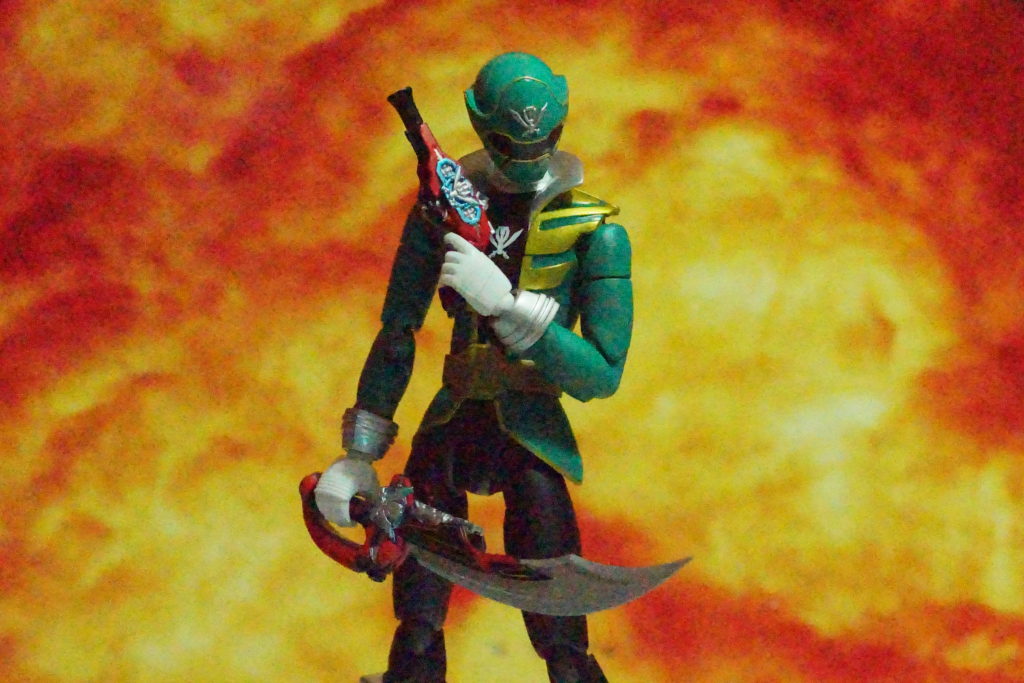
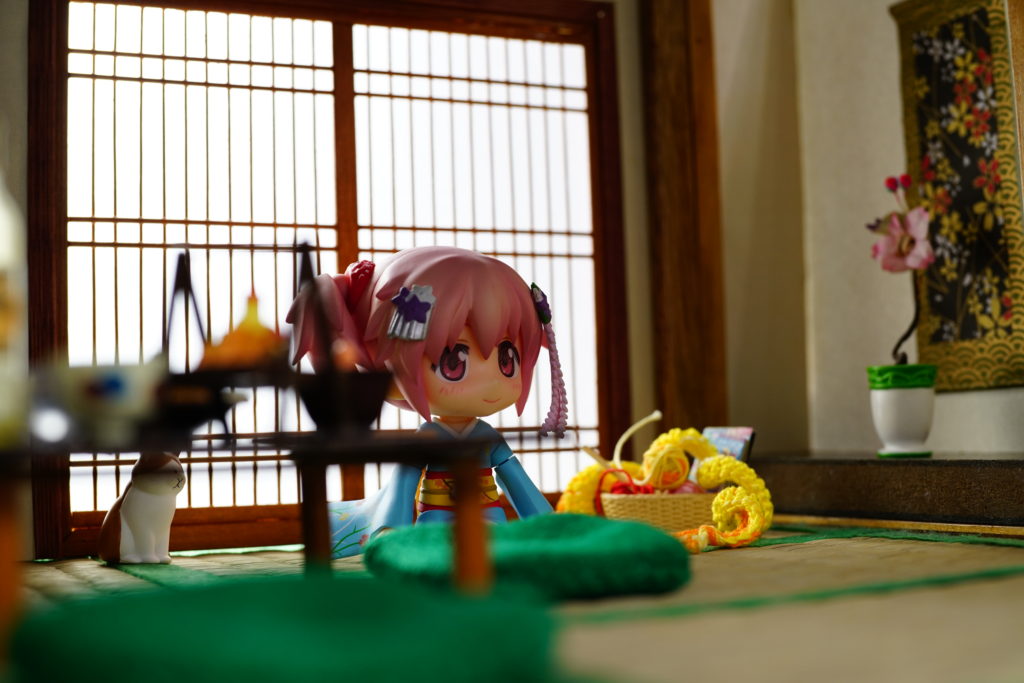
TRICK: Setting the exposure value can help create depth and brightness of your images. Try setting your camera’s exposure value lower so you can create more dramatic shots.
-jvr
First Published in Phygure Magazine.
http://www.phygure.com

